Cloudbeds
If you don't already have a CartStack account, sign up here - https://www.cartstack.com/sign-up/
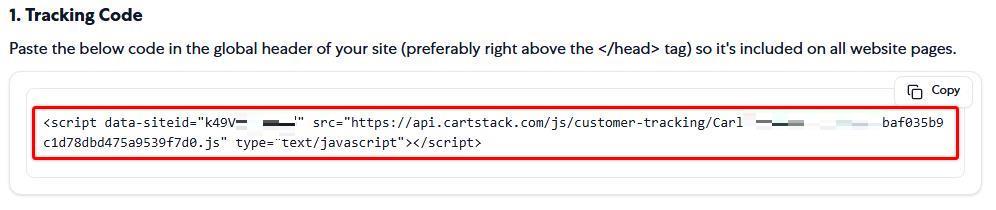
1. Log into your CartStack account and copy your unique tracking code from the code page.
2. Then log into your Cloudbeds account, click on the profile button in the top right-hand corner, and then Settings.

3. On the Settings page, select Booking Engine in the left-hand menu, then Customize in the center sub-menu.

4. Scroll down the page and paste your unique CartStack tracking code snippet into the JavaScript input field. If you already have content in this field, add the CartStack tracking snippet below any other content. Make sure to save your changes.

5. Finally, go back to your CartStack code/setup page to finalize the setup. Enter the thank you / confirmation page URL. You will want to use this URL - https://hotels.cloudbeds.com/reservation/confirmation.
Then click the "Review my integration" button. A CartStack team member will review your site and email the account holder when the integration has been reviewed. Please email us (support@cartstack.com) with any questions.
