Google Tag Manager
These instructions assume that you’ve already created a container for your website and have installed the Google Tag Manager code on your website.
Create a tag to fire CartStack on every page of your site.
-
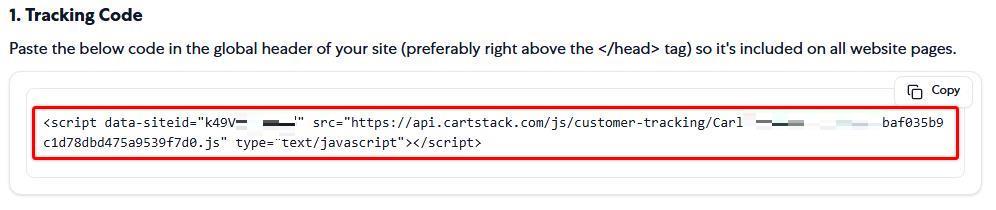
On the Setup page of your CartStack dashboard, find your unique tracking code. It starts with <script>, and ends with </script>.
-
Open your Tag Manager and add a New Tag. Select Tag Configuration and set the Tag Type to Custom HTML Tag via the menu on the right-hand side. (You may need to scroll down that menu to find the option.)

-
Paste the complete CartStack Tracking Code (found in Step 1) into the HTML field.
-
Select the Triggering option, choose All Pages, and Save. Once saved, click the Submit button on the top right-hand side to publish the new tag.

-
In the CartStack dashboard, enter your confirmation/thank you page URL on the Setup Page of your account. If you're not sure what the URL is, run a test purchase on your site and copy the URL after completing your purchase. If the confirmation page loads dynamically, click here for advanced options.
- Click the Review My Integration button. We'll make sure everything looks good and let you know when you're ready to launch your email campaign!

