Creating an Email Template
Accessing and Using the Editor
This article will guide you through the steps of creating an email in CartStacks Basic Email Builder to get you on the way to a successful campaign!
-
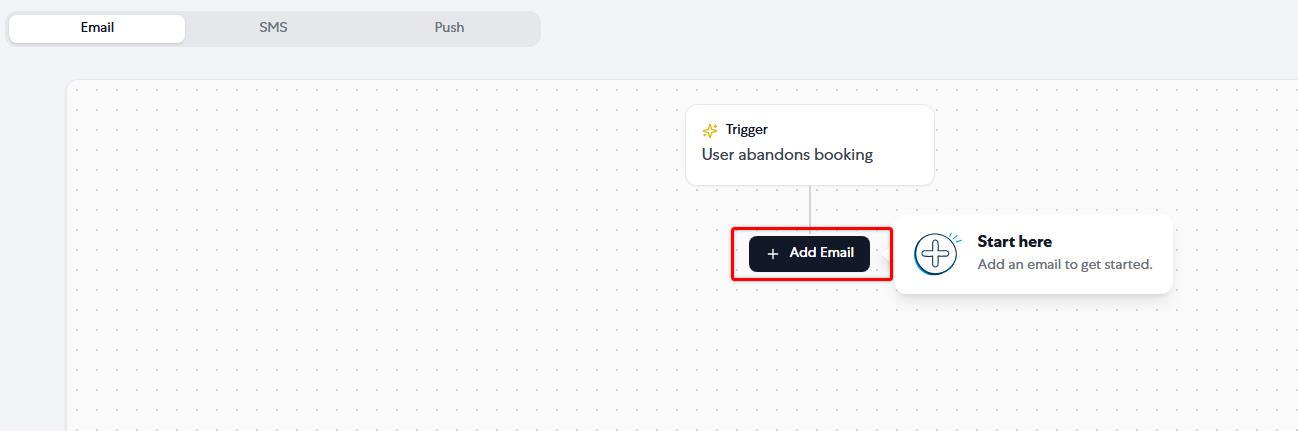
Navigate to your cart abandonment campaign set-up page. Click the Add Email button.
-
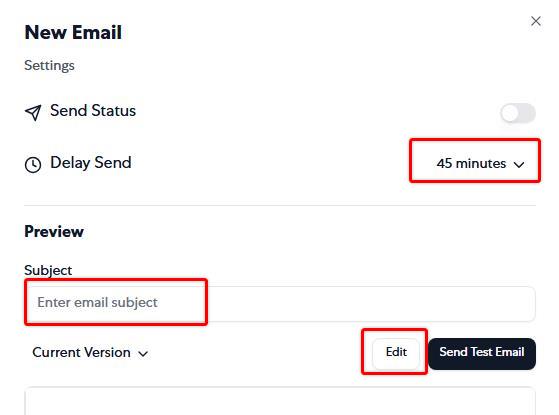
Select a Delay Send, then enter a Subject Line and click Edit.
-
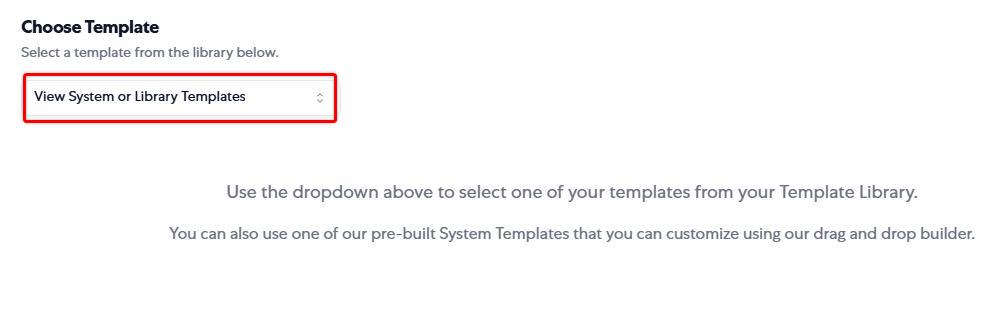
Once the Editor is open, select Choose Template and you can choose from one of our stock templates or import one you have designed from the Template Library.
-
To use the builder, you can select the different content blocks of the email and add features with the menu in the right-hand panel. After selecting and placing features, additional property options will become available to you in the right-hand panel.
-
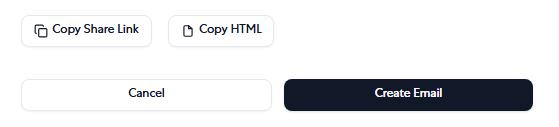
Once you are done editing the template, make sure you Save, then Close. Click Create Email at the bottom of the settings.
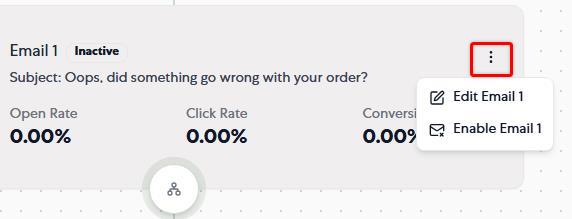
6. To Activate the email, you can toggle the Send Status on or use the drop-down menu on the corner of the email plate.


Designing a Successful Email Template:
Step 1: Adding a Pre-header
Step 2: Adding a Logo and Image
Step 3: Adding URLs
Step 4 (E-commerce sites only): Adding Cart-Items
Optional Step 5: The Unsubscribe Link will populate in the template automatically for you, but you can include it manually as well.